Drum Triggers and Samples: Cheat Code or Legit Tool?
Drum Triggers and Samples: Cheat Code or Legit Tool? The short answer is that they are a legitimate engineering tool when used with taste and a clear goal. Triggers and samples can stabilise inconsistency, add weight, and make dense guitars feel tighter without steamrolling the drummer’s dynamics. The problem is not the method. It is [...]
Drum Triggers and Samples: Cheat Code or Legit Tool? The short answer is that they are a legitimate engineering tool when used with taste and a clear goal. Triggers and samples can stabilise inconsistency, add weight, and make dense guitars feel tighter without steamrolling the drummer’s dynamics. The problem is not the method. It is heavy handed use, poor phase practice, and ignoring the song’s feel. This guide breaks down when and how to use triggers and samples so your drums hit hard and still sound like your band.
Why triggers and samples exist in heavy music
Modern heavy productions demand clarity and impact at high speed. Palm muted guitars and sub heavy bass occupy much of the spectrum. Close mics can lose definition as tempos rise, rooms get small, and players tire. Triggers and samples solve three recurring problems. First, they keep transient attack consistent so fast patterns read clearly. Second, they stabilise low end so kicks and toms do not vanish when parts get busy. Third, they provide reliable tone when live rooms or budget setups limit what you can capture.
None of that replaces a well tuned kit or a solid performance. You get the best results when editing is tight, phase is healthy, and the acoustic shell tone is already strong. If your takes need surgical timing help before you think about replacement or augmentation, consider tightening performances with drum editing that preserves feel.
Triggers vs replacement vs augmentation
Physical triggers are sensors mounted on the drum that detect hits and fire a sample or generate a clean transient to drive a sound source. They are popular live for stable FOH punch and in the studio when bleed makes detection unreliable.
Replacement swaps the original hit with a sample on every event. It is extreme and risks losing the shell’s character unless you blend a room component or parallel mic that keeps some of the live signature.
Augmentation blends a sample under the original mic to support attack or low end. This is the most musical approach for records that still need identity. The live track provides realism. The sample provides consistency. A typical music first blend is 10 to 40 percent sample by fader energy with polarity checked each step.
Studio goals that keep it legit
- Preserve the drummer’s dynamics. Use velocity sensitive layers and avoid brick wall MIDI mapping that flattens accents.
- Keep the shell’s fingerprint. Let some live close mic or overheads lead the tone so the kit still sounds like your band.
- Support the riff. Choose samples that fit the guitars and bass. Do not chase isolated drum tones that fall apart in context.
- Phase respect. Align augmentation to reinforce, not cancel. The low end tells you if you nailed it.
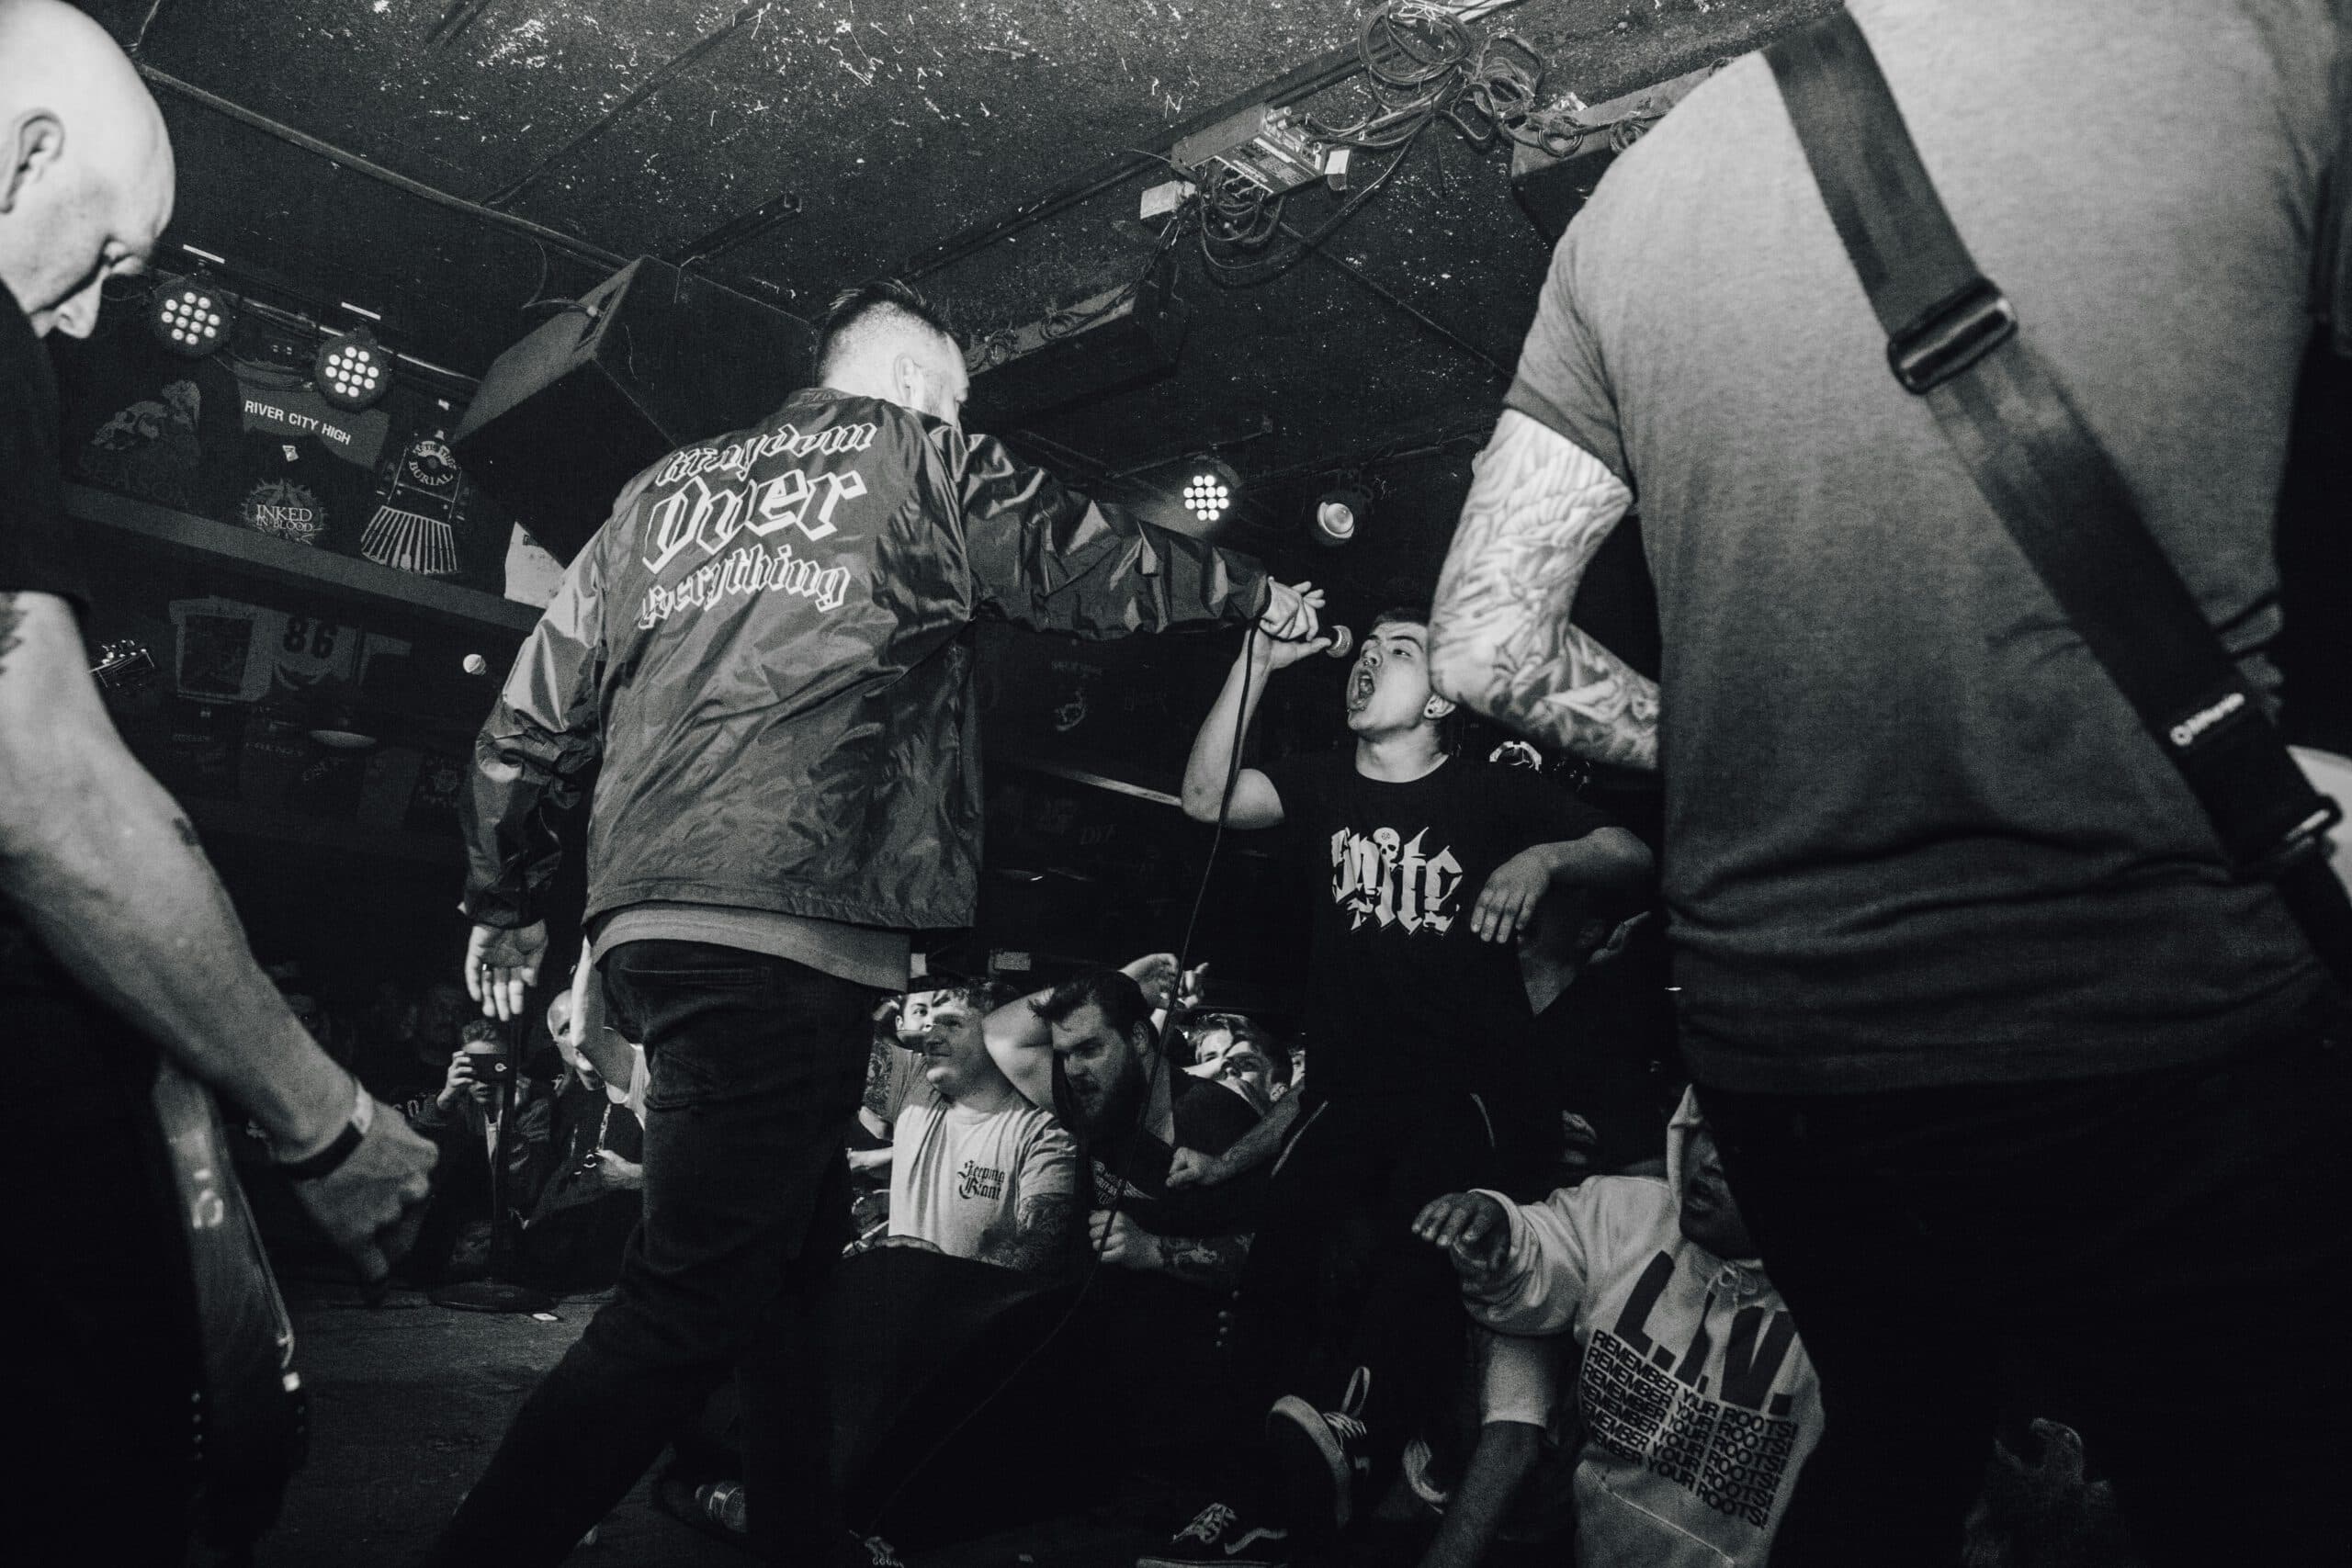
Live use cases where triggers save the show
Loud stages, fast changeovers, and boomy rooms make consistent kick and snare translation hard. Triggers give FOH clean attack and predictable level. If you are running tracks and click, a triggered layer can glue the band to time without cranking gates so hard that the kit feels tiny. Keep latency below 5 ms end to end, reinforce the natural mics rather than replacing them, and carry a few trusted sample sets that match your album vibe.
What actually sounds like cheating to listeners
Listeners react when the drum speaks like a drum machine. That usually happens because velocity is crushed, tails are identical, or the sample timing is quantised so tightly that human movement disappears. It can also happen when replacement ignores room and cymbal interaction. Heavy music loves impact, but it also needs movement. Preserving that micro movement is the difference between exciting and sterile.
Are drum samples and triggers a shortcut or a studio standard
They are a studio standard when used to solve problems the mics cannot. They are a shortcut in the worst sense when they replace prep, tuning and performance. If the room is untreated, the heads are blown out, and the player’s dynamics are all over the place, heavy handed replacement will still sound like a polished version of a deeper issue. Fix the source first. Use augmentation last to carry the result across the finish line.
Step by step workflow for natural augmentation
- Prep the kit. New heads, even lugs, minimal targeted damping. If you need a refresher, see our guide on tuning heavy drums and get toms stepped so fills read.
- Record clean. Place mics for separation. Avoid pointing tom mics directly at cymbals. Capture healthy overheads so you can keep more of the live image.
- Edit with intent. Tighten flams that distract. Do not grid the life out of the part. If you want help, I can tighten takes while keeping groove.
- Detect hits reliably. For plugin detection, set threshold so false triggers are rare. For physical triggers, mount solidly and avoid sympathetic retriggers.
- Choose samples that match the kit’s vibe. For snare, pair a body sample with a crack sample you can sculpt separately. For kick, carry at least three flavours: click forward, mid punch, and sub supportive.
- Align and check polarity. Nudge the sample so the attack supports the live transient. Flip polarity if the low end thins. Aim for reinforcement that feels louder without large fader moves.
- Blend by role. Attack helpers often live 10 to 25 percent by energy. Low end supports can be 20 to 40 percent. Let overheads and rooms carry space so shells feel real.
- Commit or print safely. When you are sure, print the blended result to keep sessions lean. Keep a safety playlist of the raw close mic in case you change direction later.
Numbers that help you decide fast
- Kick trigger threshold: start around minus 15 to minus 8 dBFS on the input so ghost beater chatter does not retrigger.
- Latency budget: keep total trigger to sound under 5 ms for live, under 10 ms for studio to preserve feel.
- Sample blend: attack support 10 to 25 percent, low end support 20 to 40 percent by fader energy, then fine tune by ear.
- Phase nudge: align to within 0.1 to 0.5 ms where the low end fattens. If the body vanishes, you are out of phase.
- Velocity layers: aim for at least 8 to 16 layers for realistic snare articulation. Round robins reduce machine gun effect.
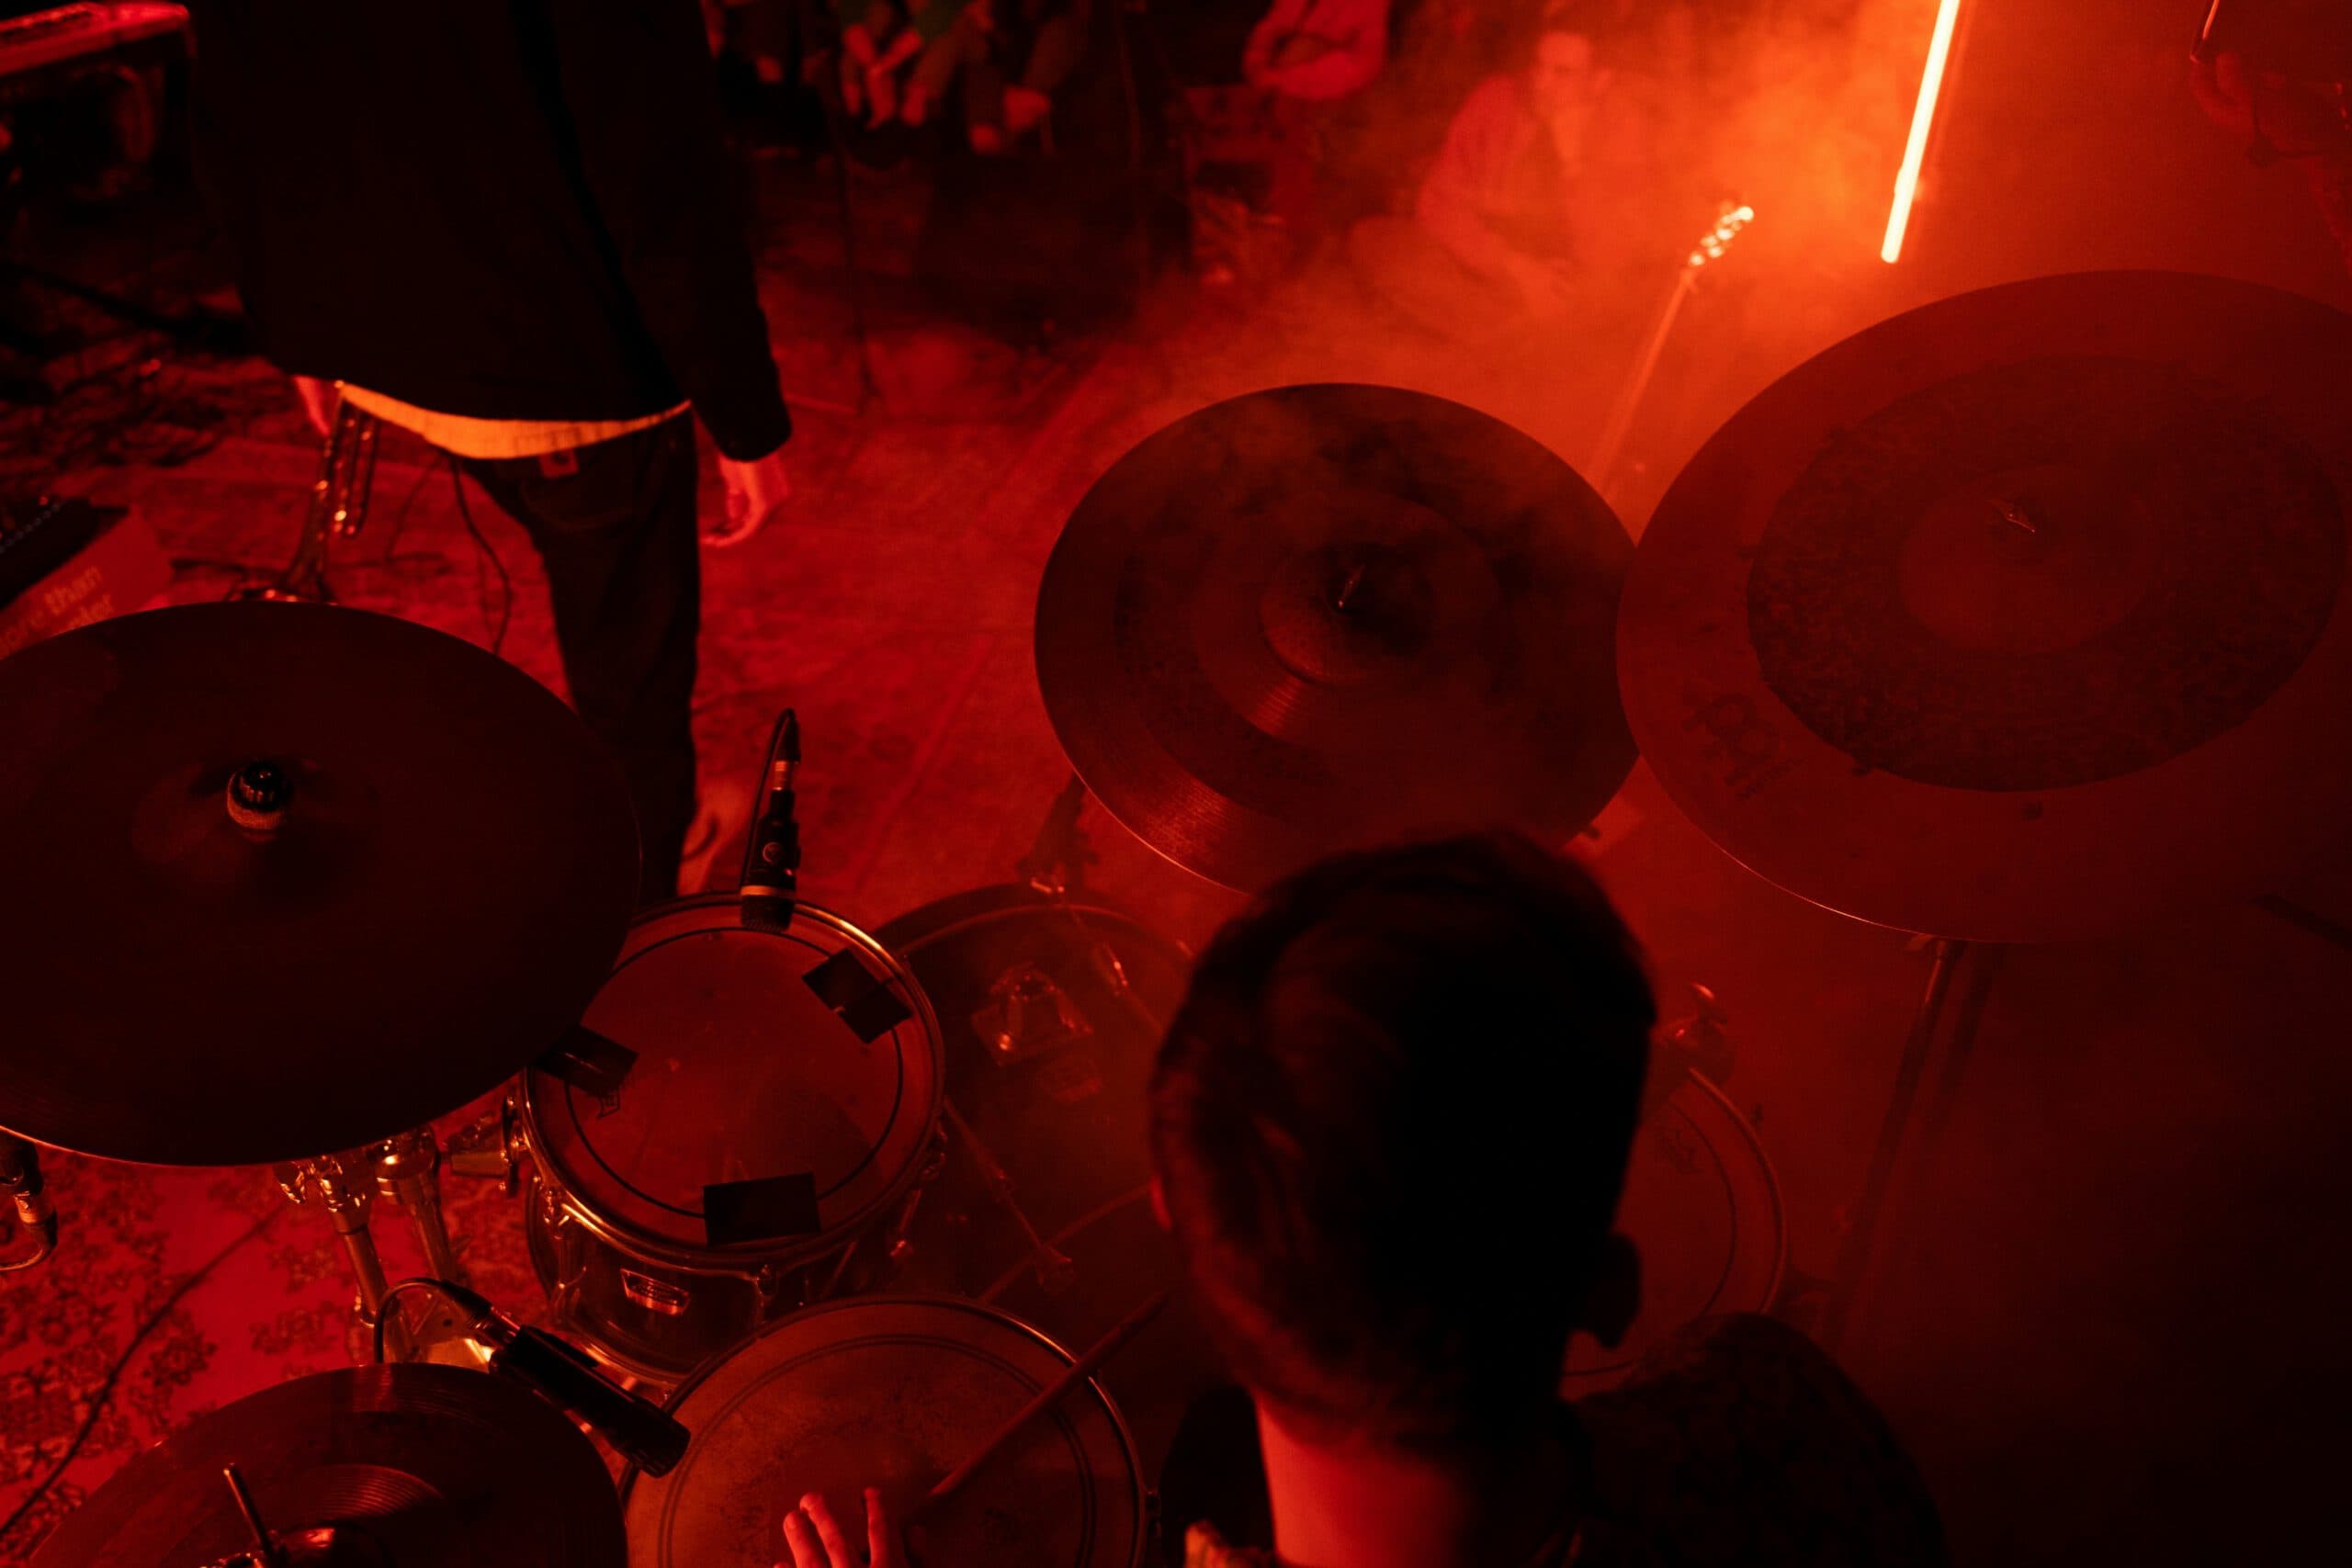
Keeping phase coherent in multi mic kits
Augmentation works only if the sample reinforces the acoustic mics and overheads. Solo overheads and snare top. Add the sample. If the centre gets thinner, flip polarity on the sample path or nudge the sample earlier by a fraction. Do the same with kick against overheads and rooms. If phase management is derailing your mix, I offer multi mic drum phase alignment to lock the kit before you start blending.
Genre focused approaches that sound intentional
Deathcore and modern metal. Consistent, fast articulation is the goal. Use tight kick augmentation and a crisp snare helper that favours attack. Keep the low end lean enough that rapid doubles stay readable. Resist the urge to zero out dynamics.
Djent and tech metal. Shorter decays, stepped toms, and clear transients help complex riffs breathe. Keep the sample tails tidy. Use a transient shaper on the live track rather than cranking the sample to do all the work.
Doom, sludge and stoner. Longer notes are musical. Augment low end carefully so the kick supports the riff without replacing the earthy bloom. Lean on room mics and keep the sample tails natural.
When replacement is the right call
- Irrecoverable bleed. Cymbal wash has overrun the snare mic and gating ruins the envelope. Replacement can rescue the part.
- Damaged source. A critical mic failed or the head is compromised in takes you cannot redo.
- Creative direction. You want an intentionally synthetic vibe. Own it and design a sound that serves the song.
Common mistakes that lead to sterile results
- Ignoring resonance. A sample with a different pitch fights the tuned shell and overheads. Choose families that live in the same note neighbourhood.
- Over quantising. Snare rushes slightly into choruses for excitement. If you clamp to a perfect grid then replace every hit, the chorus can feel flat.
- One shot fatigue. A single velocity sample repeated at speed reads as a loop. Use multi layer sets and round robins.
- Phase blindness. If you never solo the low end and check polarity, you can set up a cancellation that steals punch no matter how loud you push faders.
Routing templates that speed up decisions
- Snare bus: Snare Top, Snare Bottom, Snare Sample A Attack, Snare Sample B Body into Snare Group with parallel compression send.
- Kick bus: Kick In, Kick Out or Sub, Kick Sample Click, Kick Sample Low into Kick Group with a short clipper on the group.
- Toms: Each tom close mic with optional sample under for low end only, bussed into a Toms Group with a dynamic EQ catching ring.
- Overheads and rooms: Uncomplicated path with gentle compression. These keep realism. Do not bury them under samples.
- Master drum bus: Glue compressor 1 to 3 dB GR, slowish attack, medium release. Parallel bus for excitement, not level.
- FX returns: Short plate for snare, slap for toms if needed, mono ambience for kick click glue.
The ethical bit and credit
Honesty with the band and your audience matters. If a record used augmentation to achieve a sound that matches the genre, that is engineering, not deception. Credit the drummer for their performance and the engineer for production choices. The stigma usually fades when a band hears how augmentation supports their vibe without erasing identity.
Troubleshooting quick fixes
- Missed hits in detection: Lower threshold slightly or widen the detection window. Manually add a few key hits rather than lowering until false triggers appear.
- Machine gun snare: Introduce round robin samples, randomise subtle pitch by 1 to 2 percent, and let overheads lead 1 to 2 dB above the sample bus.
- Kicks vanish under guitars: Add a narrow 3 to 5 kHz click helper at 10 to 20 percent. Tuck a 60 to 80 Hz low end layer under 20 to 30 percent that reinforces the note, not the boom.
- Room sounds fake: Feed a little sample to a plate or short room and print a cohesive ambience rather than leaving it bone dry.
When to hire a specialist
If you are fighting bleed, inconsistent hits, and phase weirdness all at once, an experienced mixer can stabilise the kit in hours. I can take raw sessions and deliver modern impact through tasteful augmentation that keeps your shell tone, or handle the whole process via metal focused mixing and mastering. If you specifically want transparent reinforcement, my drum sample replacement and blending service is built for that job.
Recommended reading and tools
For deep dives into technique and philosophy, start here: Sound On Sound on drum replacement, Roland RT series trigger overview, Slate Trigger official page, and Toontrack Superior Drummer. Cross check concepts and build a toolkit that suits your workflow.
Related reading and services
- Blend samples for weight without losing your shell tone
- Tighten performances so augmentation stays musical
- Lock phase between overheads, rooms and close mics
- Full metal ready mixing and mastering that respects your identity
Are drum triggers and samples considered cheating
No. They are tools. Cheating happens when they replace preparation, tuning and performance. Used to solve bleed, consistency or translation issues, they are standard engineering practice in heavy music.
Should I replace or augment my snare
Augment first so you keep identity. Blend a body sample and a crack sample under the live mic at roughly 10 to 30 percent each, then adjust by ear. Replace only when bleed or damage makes the live track unusable.
What latency is acceptable for live triggering
Keep total system latency under 5 ms from trigger to speaker so the feel does not lag. In the studio, under 10 ms is usually transparent to players monitoring on headphones.
How do I avoid the machine gun effect on fast snares
Use multi velocity, multi round robin samples, keep overheads leading by 1 to 2 dB, and allow small velocity differences to pass. Slight random pitch variation of 1 to 2 percent can also help.
Do I need physical triggers in the studio
Not always. Good detection from clean close mics is often enough. Physical triggers are helpful when cymbal bleed confuses detection or when you want a safety MIDI track during tracking.
How loud should the sample be compared with the live mic
As a starting point, set the sample 10 to 25 percent for attack help and 20 to 40 percent for low end support by perceived energy. Then fine tune so it feels louder without big fader moves. Always check polarity against overheads.
Is it legal to use commercial sample libraries on releases
Yes if the licence allows it, which most drum libraries do. Read the library EULA and keep proof of purchase. Do not redistribute raw samples. Render them inside your mix only.
What if triggers miss ghost notes
Lower thresholds slightly, adjust scan time, or layer a quieter ghost note sample with proper velocity mapping. In editing, keep expressive dynamics rather than normalising everything.
How do I keep the room sound natural when using samples
Let overheads and rooms carry space. Send a little of the sample to the same plate or short room as the live snare so both share ambience. Avoid long synthetic tails unless the production calls for them.